Category Archives: How to

Helpful tips

Do It Yourself – Yellow Lined Paper

Every business nowadays needs marketing in some way. And we know how popular direct mail marketing is, especially the famous Yellow Letters. That’s why we have decided to create small tutorial about How To Create Yellow Lined Paper at home, so you can use it for creating Yellow Letters marketing campaigns.

Dimensions of our Yellow Lined paper are 13 x 18 cm and all we need is:

  • Regular Colored A4 paepr,
  • Color printer and
  • Scissors or paper scalpel

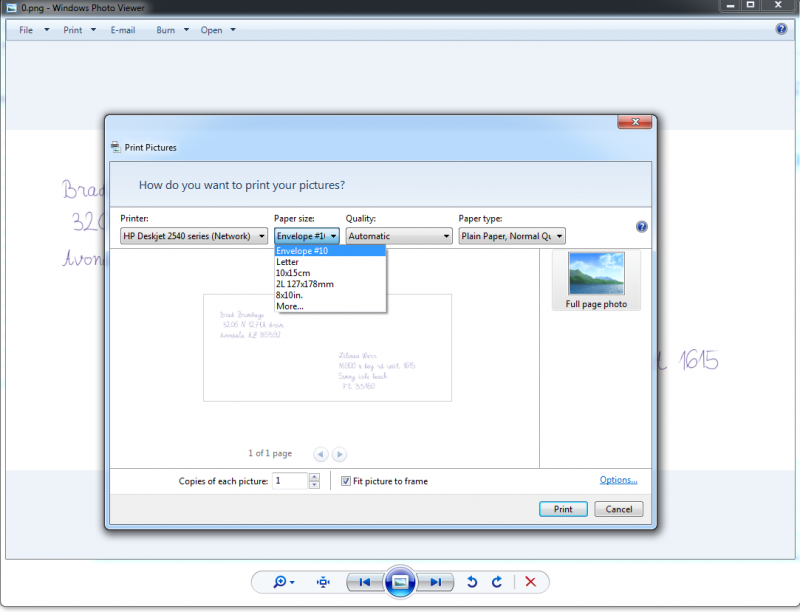
To make it as easy as possible, we have prepared  Yellow Letter template in PDF format so basically you just need to download our template and print it.

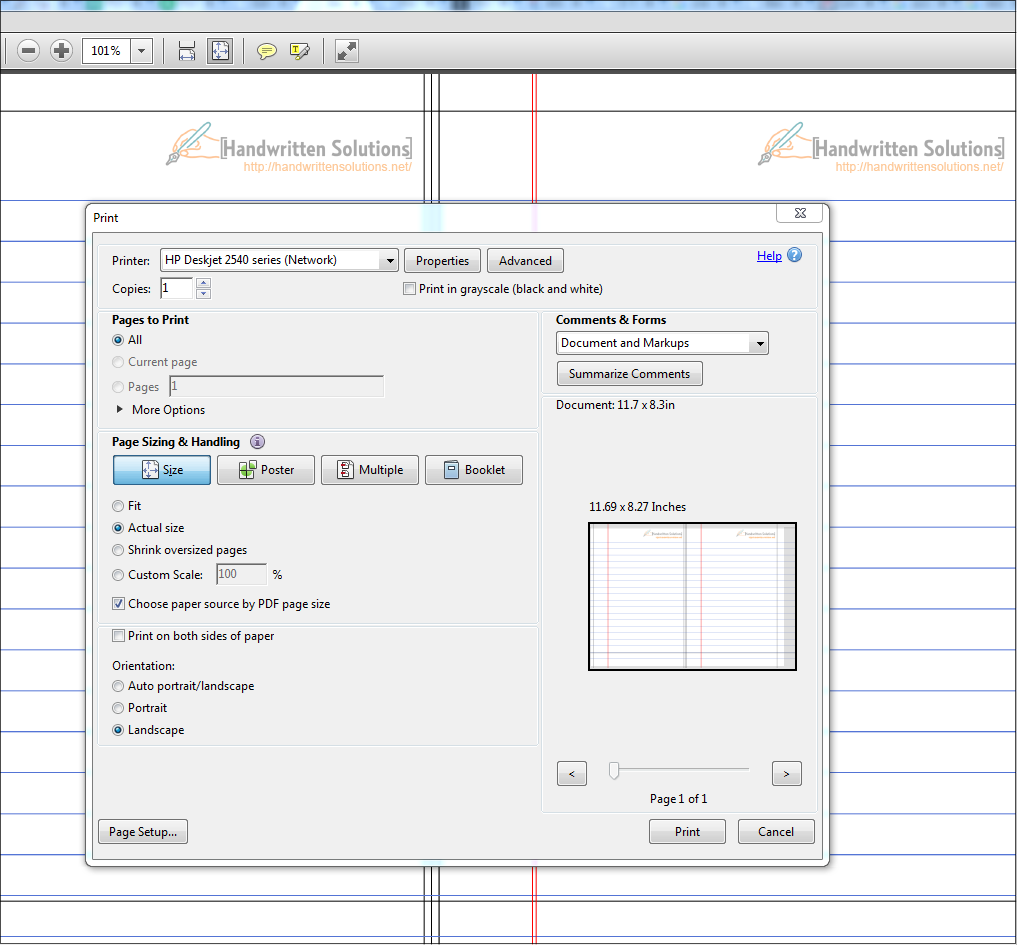
Make sure you choose [Actual size], and don’t use [Fit to media] option, so the software you use for printing doesn’t scale it down or up, messing up the size. Also note that the document is in landscape mode. Possible settings are shown in the image below:

print_yellow_letter_actual_size

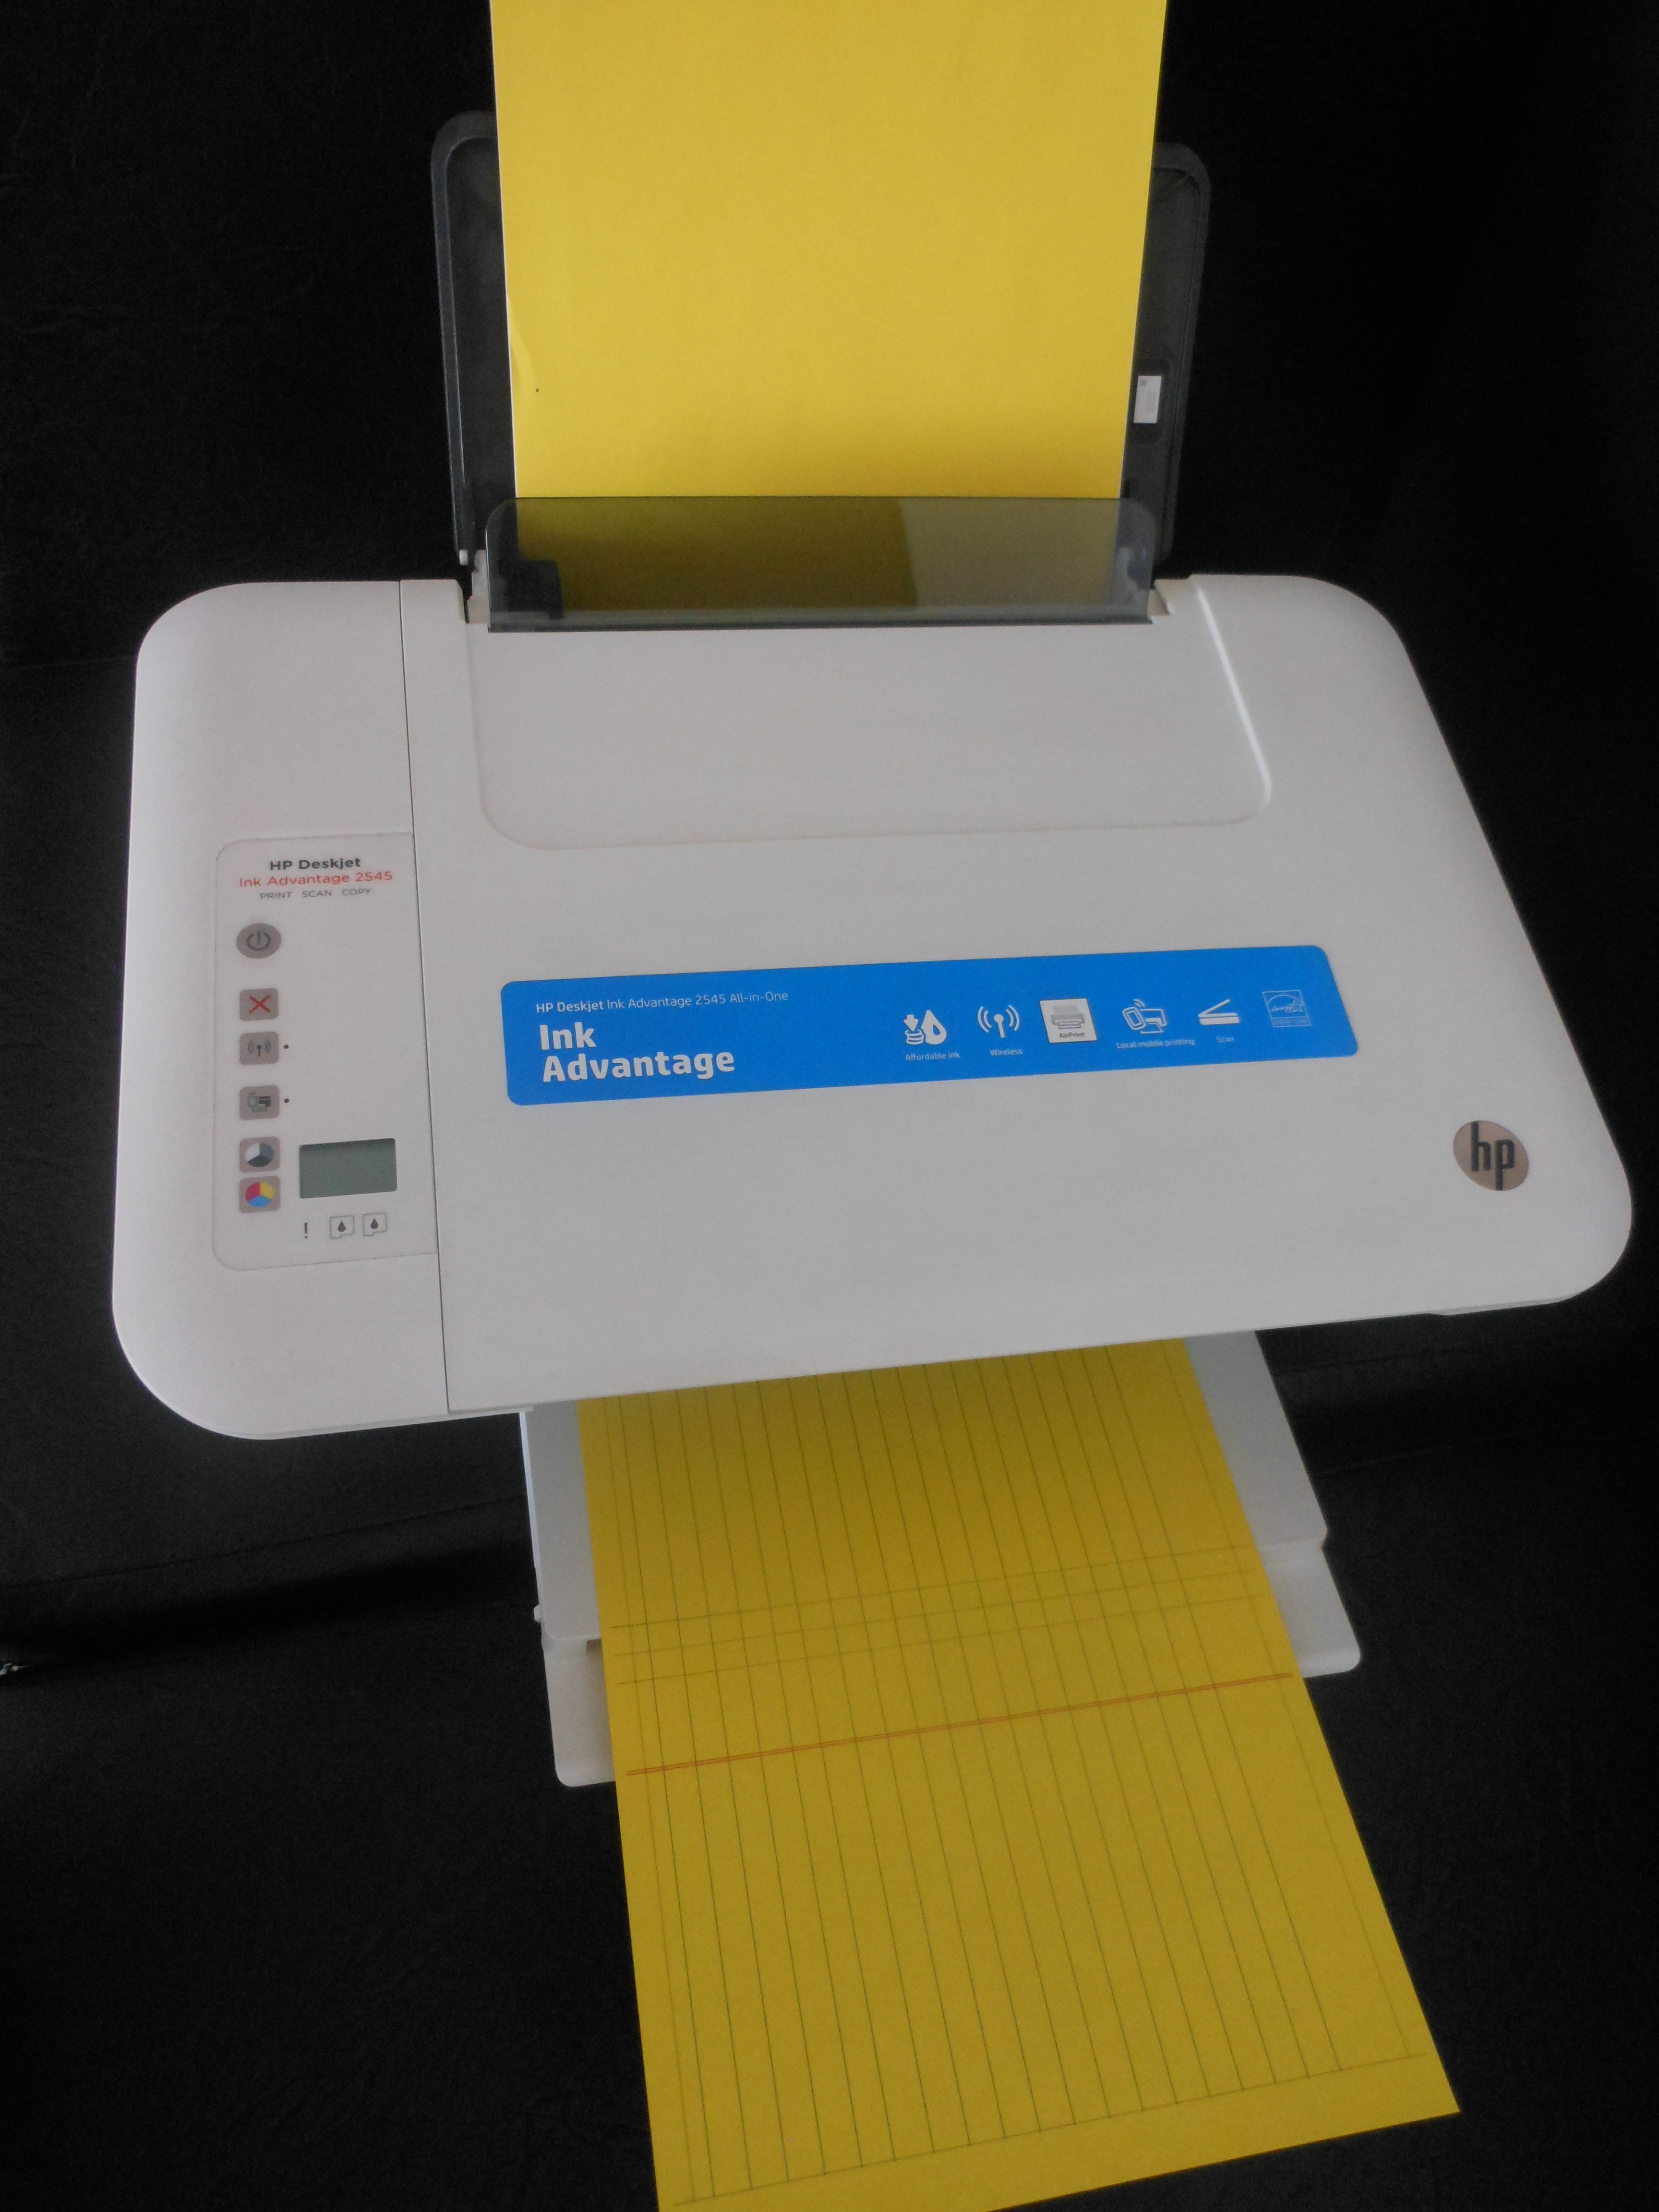
Of course not to mention that you need to feed the printer with Yellow colored paper – A4 size.

DSCN8401

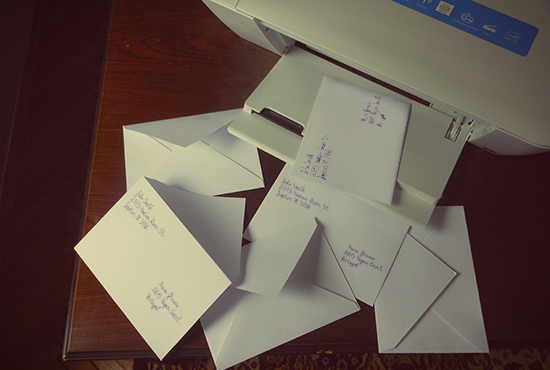
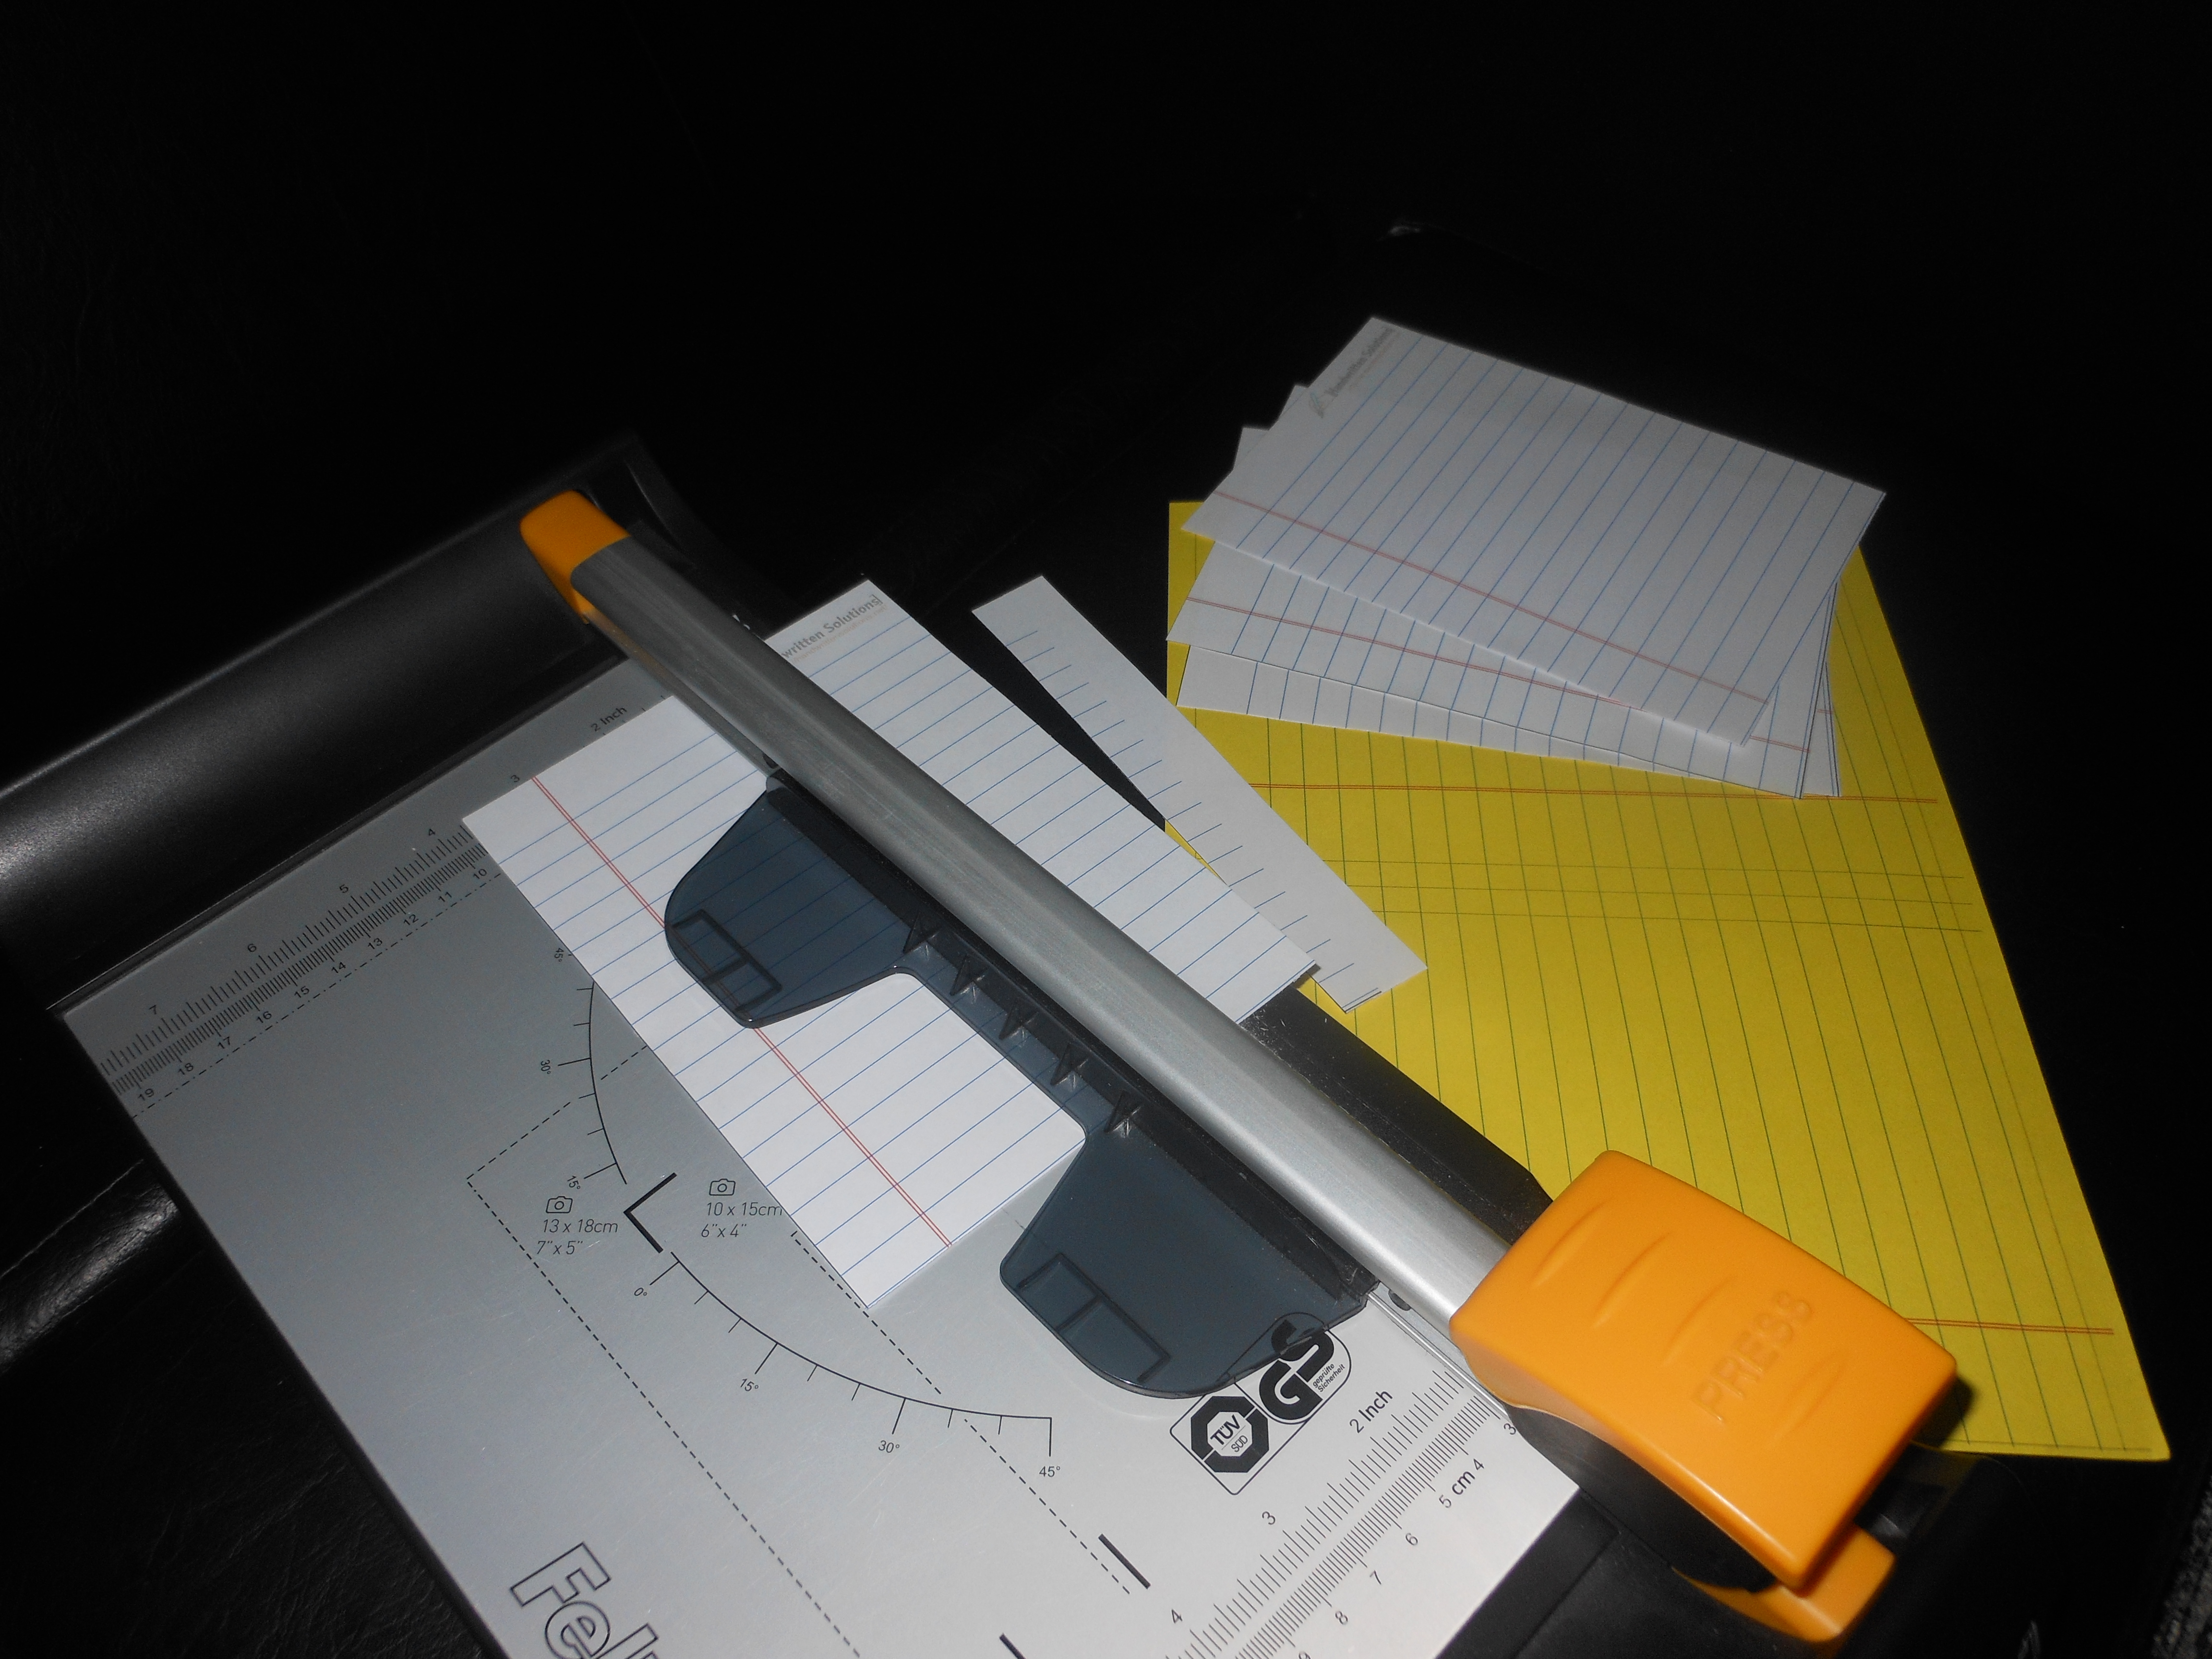
Once you print it, you only need to cut on the black lines. You can use scissors, paper scalpel or one of those paper cutter like we did.

You now have your Yellow Lined paper ready and you can start your direct mail marketing campaign using your original home made Yellow lined paper.

The end result will look like this. Don’t be afraid, be creative and try to experiment with paper in different colors. We have tried with white paper and it was also nice.

DSCN8404

Now that you know how to made Yellow Lined paper at home, what is the project are you going to use it for?

Print On Envelopes At Home, Break No Sweat.

So a lot of you might be asking how to print on envelopes. Well nowadays it is very easy and straight forward to print on envelopes. You don’t need any special kind of printing services, you can do this with your own home printer. With these few simple steps we are going to show you how to print on any kind of envelopes.


Step 1: Find the perfect envelope

The envelope is the one of the most important things here. Make sure that you have found yourself some nice colorful envelopes.

Step 2: Load the envelope

Put the envelope in the printer and align it. With the envelope aligned on its side (short edge first), the flap closed and pointing right, load a single onto your printer’s paper input tray. The envelope’ right edge should rest flush against the right edge at the paper tray. Move the sliding paper guide from Ieft to right, resting flush against the envelope’s left edge.

Printing Envelopes
Printing Envelopes

Step 3-a: Set up a document in Word

Keep in mind that the  dimensions that you are going to enter into Word must match the dimensions of the envelope for the print to be aligned. Otherwise  something unwanted might happen. Carefully place the graphic or text that you want printed. After this you are ready to go.

PC Instructions:
  • Click File > Page Set-up
  • Click Paper tab
  • Under Paper Size. enter Width & Height dimensions in inches
  • Click Margins tab
  • In Orientation section, click Landscape
Setup a document in Word - PC
Setup a document in Word – PC
Mac Instructions:
  • Click File > Page Set-up
  • Click drop-down to the right of Paper Size
  • If your envelope size is shown. click it
  • If your envelope size is not shown, click Manage Custom Sizes
  • In the Paper Size area, enter Width & Height dimensions in inches
  • In Orientation area, click Landscape icon (shown right)
Step 3-b: Set up a document in Windows Photo Viewer

Of course if you use our services, you can’t use Word to complete the printing process. What you receive from us are images and you need to be able to set up the document when printing the image. In this case you can skip Step 3-a and go to this (Step 3-b). Open the image in Windows Photo Viewer, and from the Print menu, Choose Print (Ctrl+P). Select the proper paper size as in the screenshot below and press the Print button.

Set up paper size in windows photo viewer

Step 4: Printing

Now as for the printing it might be a bit tricky, but fear not, we come to the rescue. So you need to access your printer driver to adjust the paper size. Here is the confusing part, in the document you created the height is lower than the width. But because the envelopes goes into the printer with it’s shorter side it’s width is larger.  In  the properties you need to inverse the dimensions for the print the match the envelope.

Step 5: Practice

The end result might not always turn out as you expect it, so the reasonable thing to do is to try out some new adjustments. Keep practising until you are satisfied with the results.

Printed Envelopes
Printed Envelopes